Assessing your
Web Based Email
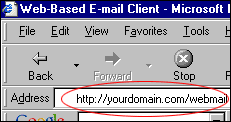
1) To assess your web based email, go to
http://<yourdomain.com>/webmail
For example
:-

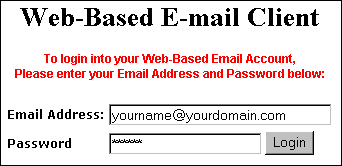
2) You will then be brought to a login screen.
Enter your email and password that you have
created in your Web Based Control
Panel - Email Accounts and
click on the "Login" button.

3) Your Web Based Email Manager will display
your inbox and the latest email will be highlighted
with a red arrow next to the email. You can
view the email by clicking on the name.
You can delete the mail by checking the checkbox
on the right of the mail you want to delete
and click on the "Delete Mail" button.
You can move your mail to another folder
by following these steps:-
* Note: You have to create a folder from the
Folder options before you can perform this
function)
a) Check the checkbox on the of the mail you
want to move.
b) Select a folder to move to from the "Select
a folder" drop down menu.
c) Click on "Move to" to move the mail.

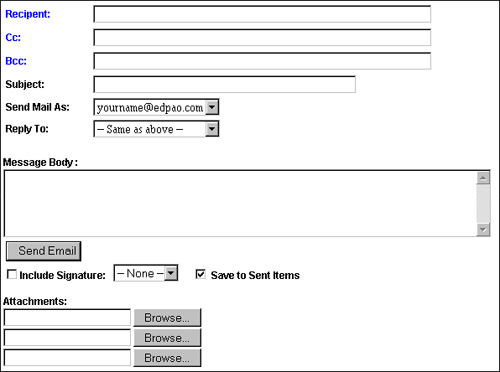
4) Clicking on "Compose" will bring
you to a form like the one you see below.
In this form you can compose your email. Fill
in your recepient email address in the "Recipient"
text box. If you have other people you wish
to send the email to, type their email in
the "Cc" text box or the "Bcc"
Text box. The Cc text box will show all the
receipients of your email and the Bcc text
box will hide all the recipients. Enter the
Subject of your mail and the email you wish
to identify yourself in the email.
After composing your email, you can choose
whether to include your signature (Signature
can be composed in the "Options" section),
or include attachments in your email. Check
"Save to Sent Items" to save your outgoing
email.
Click on "Send Email" to send the
email.

5) Clicking on "Addresses" will bring
you to your address book. You can add your
friends details in this address book so that
you don't have to remember all their emails
and personal details.
Clicking on the "New Contact" button
will bring you to a form to fill to add a
new entry to your address book.
You can delete an entry by checking the "Delete"
check box and clicking on "Delete Selected
Contacts".
You can email a person by checking the "To"
checkbox and clicking on "Send Email".

6) Clicking on "Folders" will bring
you to your folder's manager. You can view
the existing folders you have created and
also delete or add new folders. You can also
access the contents of the folder by clicking
on its name.

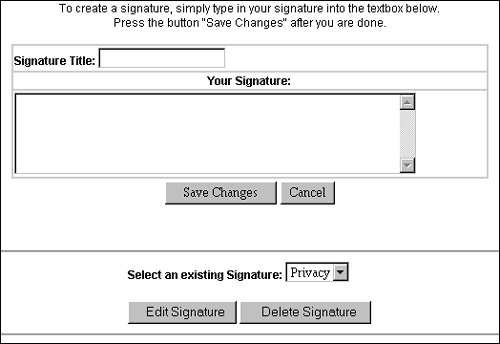
7) Clicking on "Options" will bring
you to a screen where you can create signatures
for your email. Signatures are footers that
will be included in the emails you sent out.
Enter your signature title and signature
in the appropriate text bos and click "Save
Changes" to save the signature.
You can also edit or delete an existing signature
by selecting the signature from the drop down
menu and clicking on the appropriate buttons.
(Note: You can only delete or edit a signature
if you have already created one)

8) Clicking on "Logout" will log you out
of the web based email manager.
Back
to Support menu